Home / Glazed Finishes on Cabinets
Glazed Finishes on Cabinets
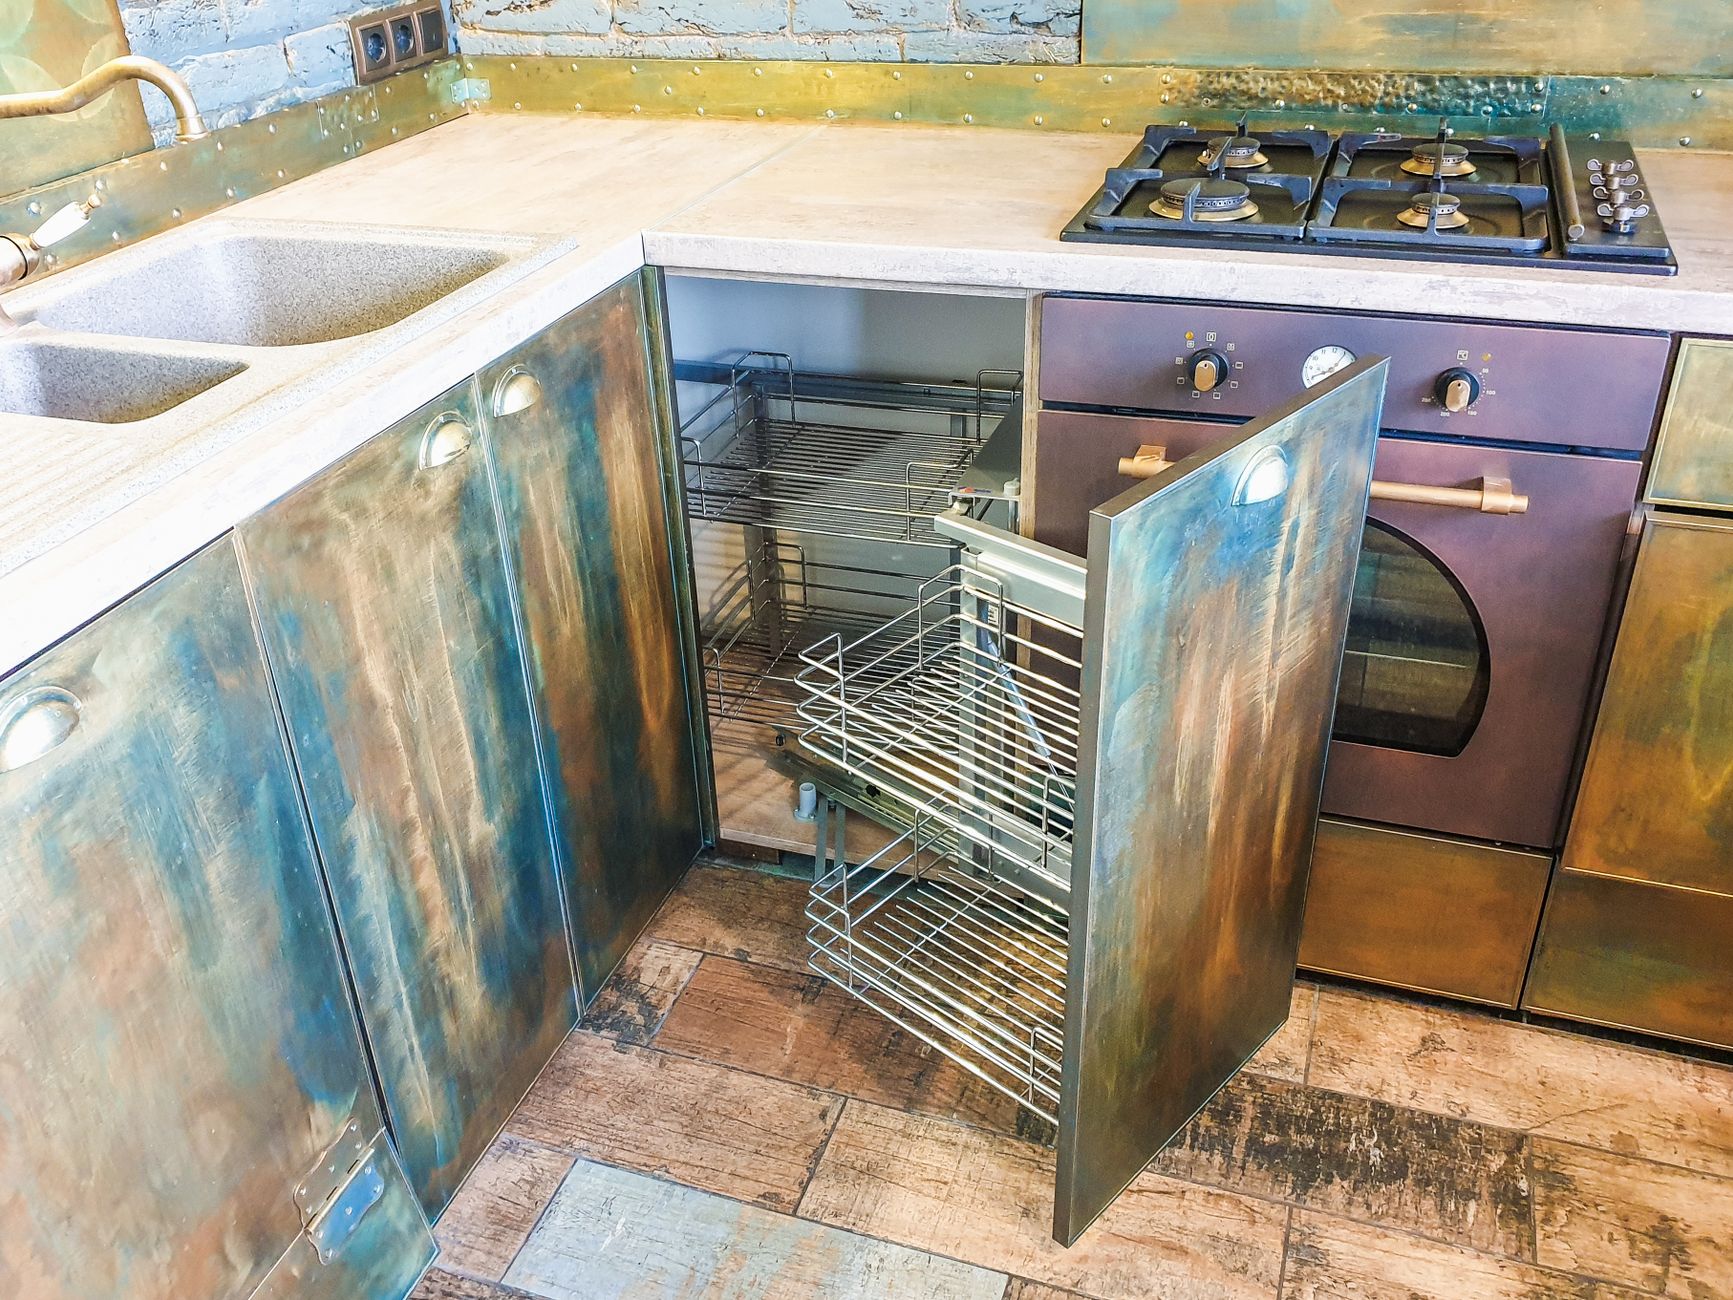
Some cabinet doors look like they have been lived with for a century even when they were finished last week. Dark pooling in the corners, a soft shadow along each raised edge, a faint warm haze across the flat parts: that is glaze at work. It is a translucent, slow-drying colored coating that is applied over a base finish and then partly wiped away, so that color stays only where the profile of the door holds it.
What glaze actually is
Glaze is a pigmented medium with a long open time, meaning it stays workable for several minutes instead of setting at once. That slow set is what allows a finisher to wipe, brush and blend it. Pigment is suspended in a clear binder, and the binder gives the color a place to sit on the surface rather than soaking into the wood the way a penetrating stain does.
Because it is translucent, glaze never hides what lies beneath. It shifts and deepens the base color. A white painted door under brown glaze reads as aged cream. A medium stained door under dark glaze reads as richer and more shaded.
Glaze over paint versus glaze over stain
The base layer changes the effect a great deal.
- Over paint: The slick, closed surface of paint lets glaze be wiped almost clean from flat areas while staying in recesses. The contrast is crisp, with a clearly defined darker line around molding and panel edges. This is the classic antique white look.
- Over stain: Wood grain absorbs more of the glaze and holds it, so the wiped areas keep a subtle tint. The effect is softer and more blended, with a glow rather than a sharp outline.
Over paint, the finisher is largely drawing with the glaze. Over stain, the finisher is working with the wood and has less control, since the open pores of species like oak grab pigment in unpredictable places.
How the profile catches color
Glazing only makes sense when a door has a profile for it to catch on. A raised panel door has an inside edge, a stepped bevel and a rail with molding, and each of these creates a recess where glaze gathers. The finisher brushes glaze across the whole door, then wipes the high spots clean with a cloth and leaves the low spots dark. The result emphasizes shape, making the carving or bead look deeper than it truly is.
On a flat slab door there is almost nothing for glaze to settle into, so the effect becomes a uniform film or a streaky haze. Glaze on a slab can still be used, but it tends to read as a tint rather than an accent, and a flat stained finish is usually the more honest choice. Five piece Shaker doors with narrow inside edges sit in between: a thin line of color can show where the panel meets the frame.
The wiping and blending stage
Technique is where results diverge. A glaze can be left heavy in corners, feathered along an edge, dragged across the surface with a dry brush to leave faint streaks, or wiped to a near-clear finish. Common treatments include:
- Corner pooling: glaze left to settle in inside corners for a dark, aged look.
- Edge highlighting: glaze wiped from raised edges so the base color shows brightly while recesses darken.
- Distressing marks: light brush strokes or tiny speckles, a deliberate imitation of age.
- Full-door wash: a thin, even veil across the surface for subtle depth.
Each door in a kitchen should get the same treatment. Handwork varies, so shops usually assign one finisher to a whole job so the pooling and wiping look consistent from door to door.
Sealing the glaze
Glaze alone is soft and rubs off with cleaning. It must be locked in with a clear topcoat. The usual sequence is base finish, sealer to stop the base from lifting, glaze, then a clear protective coat. If any layer is skipped or applied before the one beneath is dry, the result can be a smeared, blotched or peeling surface. Using products from one finishing system lowers that risk, since different chemistries can react badly with one another.
What goes wrong
- Muddy corners: too much glaze left in recesses looks like dirt rather than depth.
- Inconsistent doors: hand wiping leaves some doors darker than others.
- Visible brush marks: uneven drag looks messy rather than intentional.
- Lifting: glaze applied too soon over an uncured base can pull the base coat up.
- Yellowing: some glazes darken over years, especially on pale painted bases.
Glazing and cleaning
A glazed cabinet hides light grime well. The darkened recesses camouflage small amounts of dust and grease, which is part of the appeal for busy kitchens. But the same recesses can trap residue, and a stiff brush used to clean a groove can scratch a thin topcoat. Mild soap and a soft cloth are enough, and abrasive cleaners should be avoided because they can dull the sheen and wear through the topcoat on edges.
Fashion and fit
Glazed finishes belong to a particular design vocabulary: traditional, Mediterranean, old-world and Tuscan-style kitchens, along with some cottage looks. They have lost ground to flat painted and clean-stained cabinets in modern design, and a heavy glaze on a very contemporary kitchen can look dated. In a home with detailed trim, crown molding or a raised panel layout, though, a light glaze can add the depth that flat paint cannot.
A lighter touch generally ages best. A faint warm shadow on a white door reads as quiet craftsmanship, while a heavy, dark treatment commits the kitchen to a style that may feel strong after a few years.
Pairing glaze with hardware and countertops
Glaze changes how neighboring materials read. Dark brown glaze pulls a kitchen toward warm metals such as aged brass or oil-rubbed bronze, and cool polished chrome can feel out of place beside it. A busy stone countertop with heavy veining competes with strongly glazed doors, so many designers pick one area to be quiet. If the cabinets carry the detail, the surface beside them stays calm, and the reverse is also true. Lighting changes the effect as well. Under warm bulbs, glaze looks mellow and deep, while strong daylight from a window shows every brush mark.
Checking a sample
Ask for a sample door with the exact glaze and base color, and check the corners at close range. Look for consistent pooling, clean edges and a smooth topcoat. Hold it under both warm and cool light, since glaze color can shift noticeably between the two. A good sample should look deliberate from every angle, and that quality is much easier to judge on a real door than on a printed color chip.